SSH Access to Proxmox Without Exposing Your Lab
Virtualization tech — once locked away in enterprise data centers — now powers all kinds of home labs. I use mine for learning, tinkering, and running services like Proxmox VE. Whether you’re running a homelab business, learning cybersecurity, or just self-hosting your media, one thing tends to come up: secure access to the hypervisor.
A reader recently asked best practices for SSH and Proxmox. This guide is my answer. I’ll walk through the exact setup I use — including my jump box, SSH hardening, hardware-backed keys, and how I work with QubesOS to manage everything securely.
While this is based on how I use Proxmox, most of the techniques apply to other virtualization platforms or Linux systems in general.
📚 Table of Contents
- Why I Use SSH with Proxmox
- 🔧 Part 1: Locking Down SSH on the Jump Box and Proxmox
- 🧭 Part 2: Using SSH ProxyJump for Secure Traversal
- 🔐 QubesOS: My Final Layer of Key Security
- ✅ Final Checklist: What My Setup Looks Like
- 🧰 Resources
- 🏁 Conclusion
Why I Use SSH with Proxmox
Proxmox has a great web interface. But like most hypervisors, it also gives you full command-line access. I like having SSH available because:
- It gives me more control than the web UI
- I can automate tasks and manage the server remotely
- I can shut down the web interface entirely when I don’t need it
That said, SSH also creates a potential attack surface — especially if you’re exposing it on a local or public network. My solution is to keep SSH tightly locked down, route access through a hardened jump box, and enforce hardware-backed MFA using a Yubikey.
🔧 Part 1: Locking Down SSH on the Jump Box and Proxmox
The first step in my setup was to isolate Proxmox and the VMs onto a separate subnet, completely segmented from the rest of my home network. Then, I created a jump box — a small Linux VM on the same subnet as Proxmox — that acts as the only allowed entry point.
From there, I hardened SSH on both the jump box and the Proxmox server using the following settings.
🔐 My SSHD Configuration (/etc/ssh/sshd_config)
1
2
3
4
5
6
7
8
9
10
11
12
13
14
15
16
17
18
19
20
21
22
23
24
25
26
27
28
29
30
# -- Authentication Controls --
PermitRootLogin no
AllowGroups ssh-users
PasswordAuthentication no
ChallengeResponseAuthentication no
PubkeyAuthentication yes
StrictModes yes
UsePAM yes

# -- Brute Force Protection --
MaxAuthTries 3
MaxStartups 3:30:10
LoginGraceTime 0

# -- Logging --
LogLevel VERBOSE
PrintLastLog yes
Banner /etc/ssh/sshd-banner

# -- Session Control --
ClientAliveInterval 300
ClientAliveCountMax 0
TCPKeepAlive no

# -- Forwarding & Tunneling --
AllowAgentForwarding no
AllowStreamLocalForwarding no
PermitTunnel no
GatewayPorts no
X11Forwarding no
I apply this configuration to every server I SSH into, including the jump box and Proxmox. Here’s what this setup gets me:
- 🚫 No root logins or passwords
- 🔑 Key-only authentication for users in the
ssh-usersgroup - 🔐 No agent forwarding, no X11, and no tunnels
- 🛡️ Login timeouts and brute-force mitigation
- 📜 Verbose logging for auditing
📴 Disabling the Proxmox Web Interface
I also like to shut down the Proxmox web UI when I’m not using it. This keeps the attack surface minimal:
1
sudo systemctl stop pveproxy
When I need it again:
1
sudo systemctl start pveproxy
🧭 Part 2: Using SSH ProxyJump for Secure Traversal
With the jump server in place, I needed a way to SSH into Proxmox through it — without ever exposing Proxmox’s SSH port to my laptop directly. That’s where SSH ProxyJump comes in.
Here’s how I set it up.
🔑 SSH Keys with Yubikey (ed25519-sk)
I use a hardware-backed key stored on a Yubikey, generated with FIDO2. This adds physical touch MFA to SSH authentication.
To create the key:
1
ssh-keygen -t ed25519-sk -f ~/.ssh/yub_id_ed25519_sk
To copy the public key to the jump box (I temporarily allowed password login just for this):
1
ssh-copy-id -i ~/.ssh/yub_id_ed25519_sk richard@hl_jump
This key is required to SSH into the jump box. Once that works, I generate a second key pair (also stored securely) for accessing Proxmox from the jump box.
🛠 My SSH Config (~/.ssh/config)
1
2
3
4
5
6
7
8
9
10
11
12
Host hl_jump
    HostName <jump_box_ip>
    User richard
    IdentityFile ~/.ssh/hl_jump_key
    IdentitiesOnly yes

Host proxmox-pve
    HostName <proxmox_ip>
    User <your_user>
    IdentityFile ~/.ssh/proxmox_key
    ProxyJump hl_jump
    IdentitiesOnly yes
With this config, I can run:
1
ssh proxmox-pve
…and I’m tunneled securely from my laptop → jump server → Proxmox.
🔥 Network Rules
To enforce this flow:
- My firewall only allows SSH from my laptop to the jump box
- The jump box can’t SSH into Proxmox directly — it only acts as a proxy
- SSH to Proxmox only works via ProxyJump, with keys + Yubikey present
This way, if someone ever gets onto the jump box, they still can’t pivot to Proxmox via SSH.
🔐 QubesOS: My Final Layer of Key Security
Since I use QubesOS on my laptop, I take advantage of its compartmentalization features to protect my SSH keys even further.
How I Handle SSH Keys in QubesOS
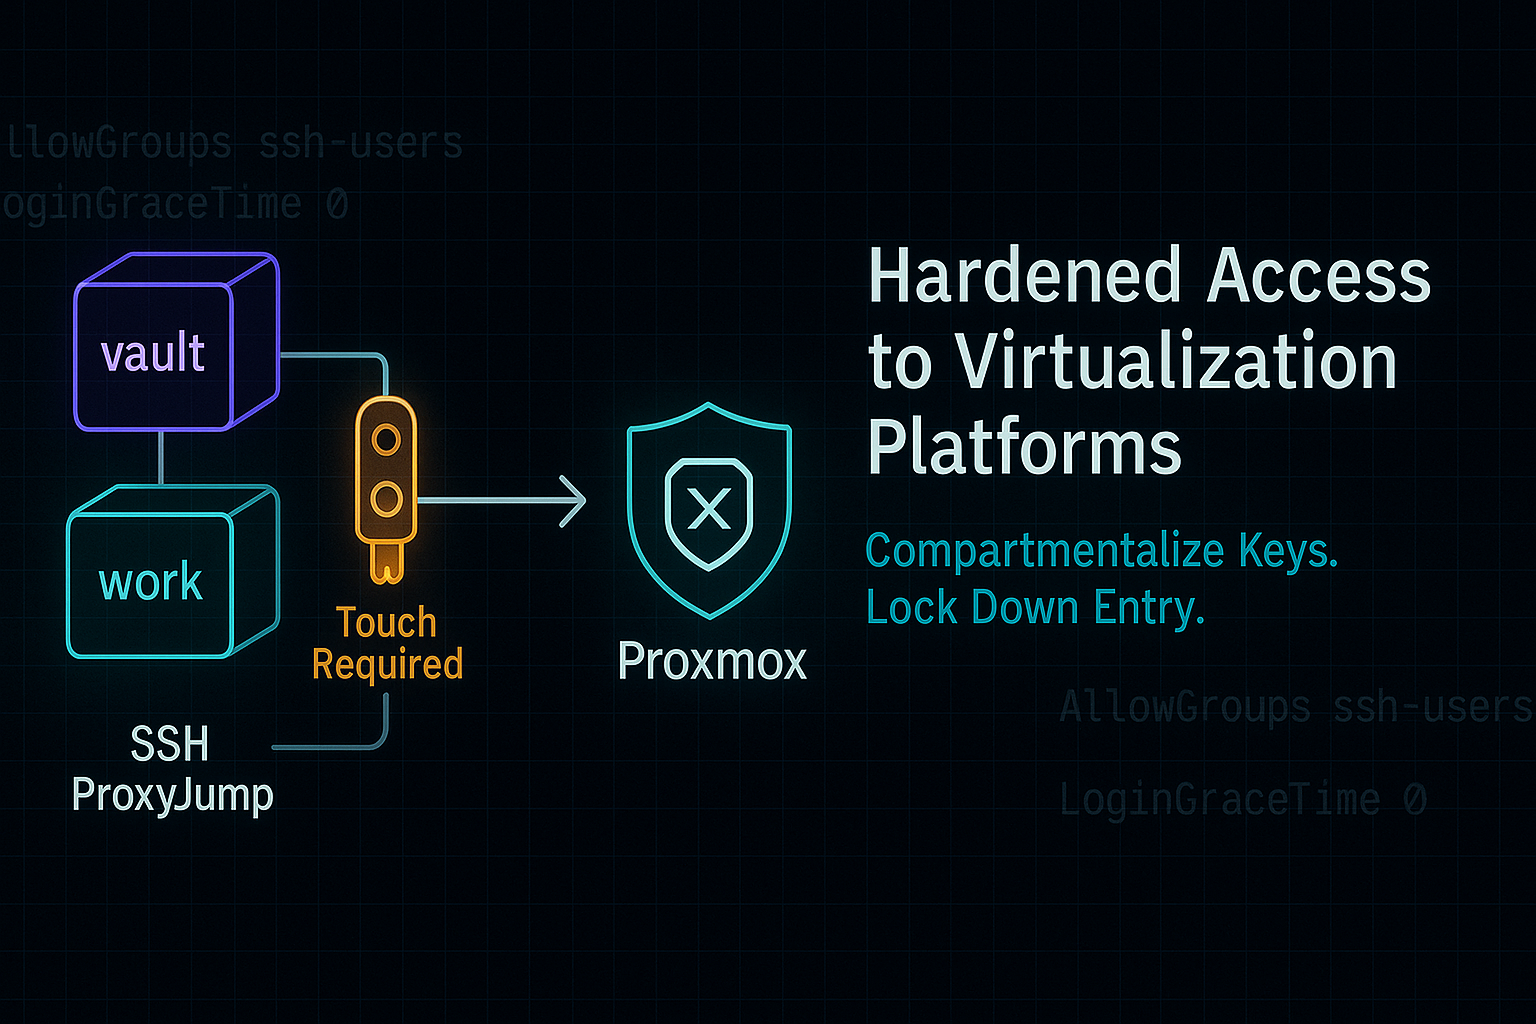
I keep my SSH private keys in a vault Qube with no network access. When I need to SSH into the jump server, I temporarily move the key into a networked “work” Qube that can make the SSH connection.
Here’s how my Qubes setup works:
| Qube | Role |
|---|---|
vault | Holds SSH keys (no network access) |
work | Used to SSH into jump box (has network) |
dom0 | Admin domain, used to copy/move key files |
I also have a small script that moves the key between Qubes when needed. After I’m done working, I move the key back into the vault.
This limits the exposure window of my private key, especially if a networked Qube were ever compromised.
✅ Final Checklist: What My Setup Looks Like
Here’s what I’ve built with this setup:
| Component | Purpose |
|---|---|
| 🔐 SSH Hardening | Key-only login, disabled root, tunnels, X11, agent |
| 🧱 Jump Box | Single entry point for SSH access into lab |
| 🔄 SSH ProxyJump | One-command SSH access to Proxmox through the jump server |
| 🧩 Qubes Vaulting | Private key is stored offline unless in active use |
| 🔒 Yubikey MFA | Physical presence required to use SSH keys |
| 🚫 Web UI Disabled | Web interface is offline by default |
🏁 Conclusion
Is this overkill? For some, maybe. But for me, this setup strikes the right balance between security, usability, and control.
You don’t have to adopt every part of it — maybe you just harden SSH, or maybe you go all the way with Qubes and hardware keys. The key is to layer your security in a way that fits your risk profile and your workflow.
This is what works for me. Hopefully it gives you a few ideas to make your own setup stronger — without making it harder to use.
🧰 Resources
I’m Richard, a systems administrator with decades of experience in Linux infrastructure, security, and automation. These tutorials come from real-world implementations and lab testing.
More guides: sebostechnology.com Need help with your infrastructure? I offer consulting for server automation, security hardening, and infrastructure optimization.
Found this valuable? Buy me a coffee to support more in-depth technical content