Prototyping a Larger Project with Proxmox
Introduction
Back when I was still doing software development, I relied on simple tools to manage and visualize systems — index cards for tracking requirements, whiteboards for mapping flows, and pen and paper to debug. Now that I’m more focused on system administration, virtualization has become my go-to tool for experimenting and learning.
With virtual machines, I can quickly spin up environments, test changes, snapshot and roll back when needed — all without touching physical hardware. For large projects, I like to build realistic prototypes early on. Walking through each piece of the system in a virtual environment helps catch problems before the real thing goes live.
The current project is one of the biggest I’ve taken on, and I’ll be using Proxmox to build out the virtual infrastructure behind it.
Note: In this article, SMB refers to Small to Medium-sized Businesses.
Table of Contents
- Project Background
- Why Proxmox
- User Management in Proxmox
- Resource Management
- Networking Configuration
- Backup & Recovery
- Virtual Machine Strategy
- Is All This Really Necessary?
- Wrapping Up
- What’s Next
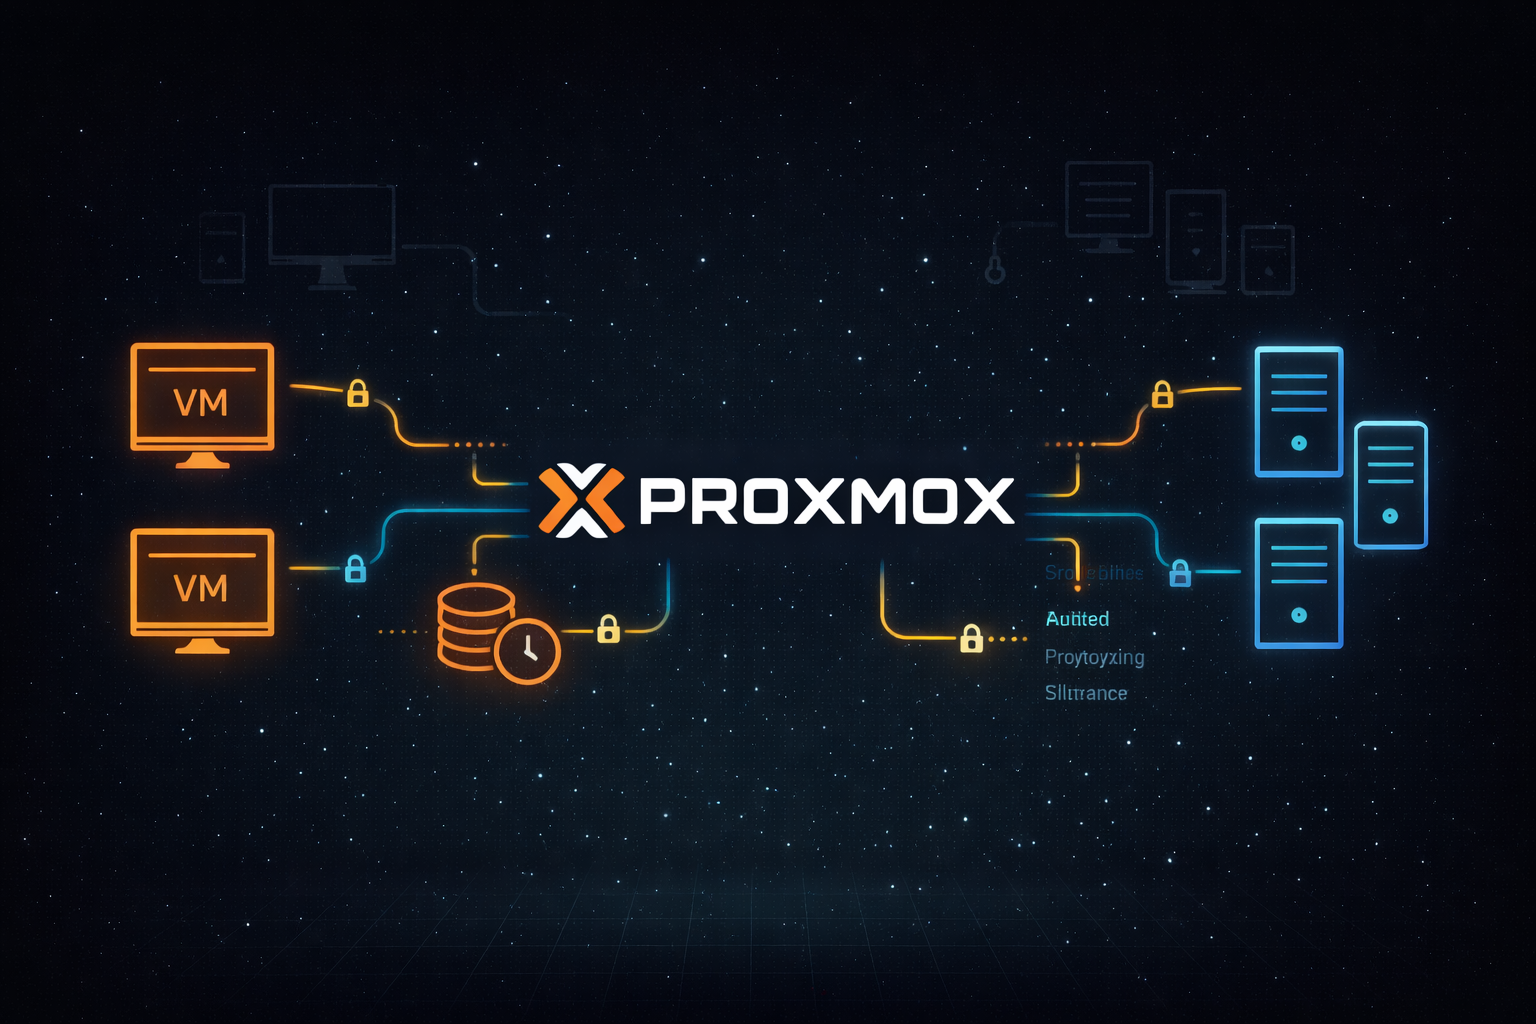
Why Proxmox
I didn’t choose Proxmox after comparing every hypervisor out there — I found it over seven years ago, set it up at home, and it stuck. I’ve used VMware professionally and tested other platforms, but Proxmox is the one I know best and the one that fits my workflow.
It has everything I need: backups and snapshots, user and role-based access control, resource pooling, tagging for organization, and flexible networking. While I’m not using features like High Availability (HA) or storage pooling right now (this is still a single-node setup), they’re there if I expand in the future.
None of these features are unique to Proxmox, but it’s reliable, accessible, and works well in my home lab environment — which makes it a great fit for this project.
User Management in Proxmox
Proxmox has two types of users: Linux PAM and Proxmox VE users. I’ve disabled the default root login and replaced it with an admin PAM user, which also gives me SSH access to the host.
For regular tasks, I use Proxmox VE accounts with limited permissions — no shell access, just enough rights to:
- Power VMs on/off
- Open the web console
- Create/restore backups and snapshots
- View (but not modify) VM and pool configurations
This helps prevent mistakes and keeps things secure. I also set up a dedicated Ansible user to access the Proxmox API for automation. And when I’m not actively using the web UI, I shut it down (systemctl stop pveproxy) and bring it back up as needed.
Resource Management
In earlier setups, I used resource pools like tags — just to organize VMs. But pools are really meant for access control and delegation, so I’ve adjusted my approach for this project.
I created two pools:
smb-servers: core infrastructure — domain controllers, file servers, etc.smb-workstations: placeholders for physical desktops and laptops
There are also two admin roles:
smb-project-admin@pve: full access across all VMssmb-admin@pve: limited to managing only the server pool
This structure makes it easier to manage the environment and keep responsibilities clearly separated.
Networking Configuration
One of the reasons I like Proxmox for prototyping is how easily it handles VLANs. I went a bit wild in the planning phase and ended up with a segmented layout that looks like this:
10.0.100.0/24– Management and monitoring10.0.110.0/24– Base infrastructure servers10.0.120.0/24– Application servers10.0.130.0/24– General workstations10.0.131.0/24– Manager workstations10.0.132.0/24– IT workstations10.0.140.0/24– Guest Wi-Fi and IoT10.0.150.0/24– Public-facing services
All traffic is routed through an OPNSense VM, which handles inter-VLAN routing, firewall rules, and DHCP. Whether I stick with this full VLAN layout through to the end of the project is still up in the air — but having the flexibility to build and adjust networking as needed is a big plus with Proxmox.
Backup & Recovery
Backup and recovery are a core part of the project plan. I’ve allocated:
- 10TB of local storage on the Proxmox host for active project backups
- 4TB of external storage for secondary/offsite-style backups
My backup schedule looks like this:
- Internal storage: 7 daily, 4 weekly, 2 monthly
- External storage: 1 daily, 2 weekly, 1 monthly
This gives me fast access to recent snapshots, plus a second layer of protection in case something goes wrong with the main server.
I’ve used Proxmox Backup Server (PBS) before and liked it, but for now I’m sticking with Proxmox’s built-in backup tools. Backups run during off-hours to minimize performance impact.
For scripts and configuration, I use GitHub to version and store everything. That way, even if a VM is lost, I can rebuild it quickly using the latest configs from source.
Virtual Machine Strategy
While the networking side of this project leans toward overengineering with detailed VLAN segmentation, the virtual machine layout starts off simple and flexible. The host system is a dual-socket Lenovo D20, offering 24 physical cores — plenty of compute power for a prototyping environment. All VMs are configured to use CPU Host passthrough, allowing them to take full advantage of the available CPU features.
Initial resource allocations are modest: 4GB of RAM for server VMs and 8GB for workstations, with adjustments planned based on performance needs. Memory ballooning is enabled across VMs, giving Proxmox the ability to optimize memory usage dynamically.
To streamline deployment, VM templates have been created for both servers and desktops. These templates include base configurations and tools, making it easy to spin up consistent environments quickly.
Is All This Really Necessary?
Some of the setup in this project might look like overkill — and in some ways, it is. But that’s intentional. Overengineering early, especially around security and structure, makes it easier to scale down than to retrofit later. VLANs and user roles, even in a single-admin project, are part of planning for growth and potential handoff.
For example:
- Subnetting may seem excessive, but it lays the groundwork for future network segmentation and access control.
- Proxmox VE user accounts and resource pools might be unnecessary for a one-person team today, but they support better delegation and automation tomorrow.
- Tags were added after correctly restructuring resource pools, making it easier to filter and manage groups of VMs during daily work.
This level of structure isn’t required for every project — it depends on the scope and complexity. However, because this environment will be built and maintained using Ansible, the Proxmox API, and direct qm commands, much of this setup is repeatable. That opens the door to applying this same structure in future projects with minimal additional effort.
Wrapping Up
This project is still in its early stages, and like any prototype, parts of it will evolve as I test, break, and rebuild things. The goal here isn’t to build something perfect out of the gate — it’s to create a flexible foundation that can scale, adapt, and handle real-world complexity when the time comes.
Using Proxmox gives me the freedom to experiment and refine without being tied down by hardware limitations. By combining it with tools like OPNSense, GitHub, and Ansible, I can create and manage infrastructure that’s repeatable, secure, and easy to iterate on.
If you’ve done something similar, spotted something I could improve, or just want to bounce ideas — I’m always open to feedback.
What’s Next
Over the next 3-6 months, I plan to build out this environment and document the process through a series of articles covering:
- Article 1: Introduction - Why this project matters and what Linux can offer businesses
- Article 2: Proxmox Virtualization Best Practices - Setting up a robust virtualization foundation
- Article 3: Making Linux Work as a Corporate Desktop
- Article 4: OS Updates on the Corporate Linux Desktop
- Article 5: Enterprise Desktop Update Lifecycle with Kinoite
- Article 6: Bringing Prometheus Monitoring to the Linux Corporate Desktop
- Articles 7-12: SMB Infrastructure Planning, Ansible Automation, Core Services (AD/File/Print), Desktop Environment, and Security Hardening
My goals are to:
- Help business owners understand that there are viable alternatives for securing their systems
- Highlight what Linux-based systems are capable of in real-world business environments
- Provide practical tools, configurations, and guidance for users who are new to Linux as well as experienced IT professionals
- Continue developing my own skills in Linux-based security and infrastructure design
Call to Action
Whether you’re evaluating alternatives to expensive licensing, building your first Linux infrastructure, or simply curious about enterprise security on open-source platforms—I’d love to hear from you.
If you are a business owner, system administrator, or IT professional interested in improving security without relying solely on expensive licensing and third-party tools, I invite you to follow along. Experiment with these ideas, ask questions, challenge assumptions, and share your experiences. Together, we can explore what a secure, Linux-based business environment can look like in practice.