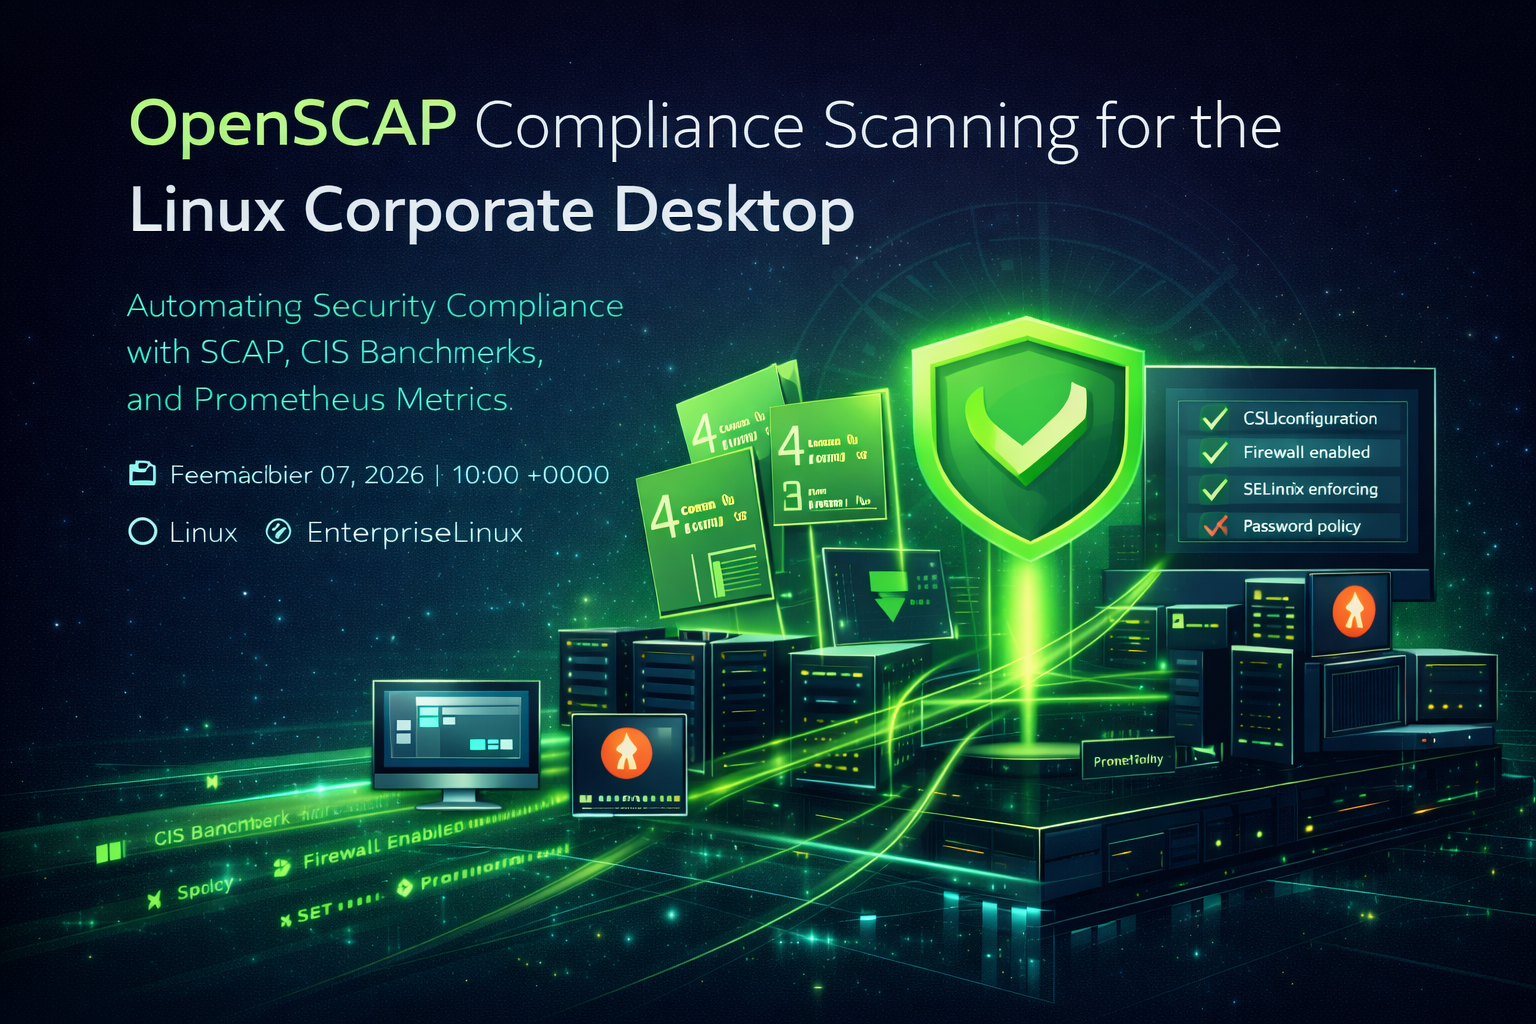
OpenSCAP - Compliance Scanning for the Linux Corporate Desktop
“Security is not a product, but a process.” — Bruce Schneier
I’ve sat through more compliance audits than I care to count. Back in the early days, an audit meant a person with a clipboard walking around the data center, manually verifying that servers were locked down according to a printed checklist. You’d spend days before the audit patching obvious gaps and writing up documentation, and then spend the audit itself hoping the auditor didn’t ask about the things you’d deferred for six months.
When regulatory frameworks like SOX, HIPAA, and PCI-DSS started requiring documented, repeatable evidence of security controls, the clipboard gave way to spreadsheets — and eventually to tools that could actually automate the verification. The Security Content Automation Protocol, or SCAP, was one of the outcomes of that shift. It gave organizations a standardized way to express security policies and check compliance automatically, without needing a human with a checklist in the room.
OpenSCAP is the open-source implementation of that standard, and it’s now a critical part of how compliance scanning works on Linux. This article covers how I integrated OpenSCAP into the same corporate Linux environment I’ve been building throughout this series — running scans on Rocky Linux and Ubuntu servers, baking OpenSCAP directly into the Fedora Kinoite desktop image, and feeding results into Prometheus through SCAPinoculars.
Table of Contents
- What Is OpenSCAP?
- Installing OpenSCAP
- Running a Compliance Scan
- Kinoite: Baking OpenSCAP into the Image
- Feeding Results into Prometheus with SCAPinoculars
- Addressing the Security Reality
- Why Do This?
- Part of a Larger Journey
🔍 What Is OpenSCAP?
SCAP — the Security Content Automation Protocol — is a NIST standard that defines how security policies are expressed and evaluated. It provides a common language for describing security configurations, and a common method for checking whether systems meet those configurations.
OpenSCAP is the open-source toolchain that implements SCAP on Linux. It consists of two main components:
oscap— the scanner that reads policy definitions and evaluates a system against them- SCAP Security Guide (SSG) — the library of pre-built policy content covering CIS Benchmarks, DISA STIGs, and other regulatory frameworks for major Linux distributions
When you run an OpenSCAP scan, it reads a datastream file — an XML document provided by SSG that encodes the security policy for your specific distribution and version. It then evaluates every rule in the selected profile against the live system, and produces a report showing which rules passed, failed, or were not applicable.
The result is repeatable, auditable, and automated. No clipboards required.
⚙️ Installing OpenSCAP
Rocky Linux (and Oracle Linux)
On Rocky Linux and Oracle Linux, OpenSCAP and the SCAP Security Guide are both available in the standard repositories:
1
sudo dnf install -y openscap-scanner scap-security-guide
The SSG datastream files are installed to /usr/share/xml/scap/ssg/content/. Rocky Linux 9 uses ssg-rl9-ds.xml; Oracle Linux 9 uses ssg-ol9-ds.xml.
SELinux note: OpenSCAP installed via
dnfincludes the correct SELinux file contexts. If you build a custom binary or install from an alternate source, verify contexts withrestoreconand check for AVC denials withausearch -m avc -ts recent | grep oscap.
One caveat worth noting: if your Rocky Linux system has Fedora repositories enabled (for example, if the system is also used as a Kinoite build server), those repos can interfere with dnf dependency resolution. In that scenario, explicitly disable Fedora repos during the install:
1
sudo dnf install --disablerepo="fedora*" -y openscap-scanner scap-security-guide
Ubuntu
On Ubuntu 24.04, the openscap-scanner package is available via apt. However, the ssg-base package — which sounds like the right choice — ships documentation and tooling only. It does not include the datastream XML files needed to run a scan.
The working approach is to install the scanner binary via apt, then download the SSG content directly from the upstream GitHub release:
1
2
3
4
5
6
7
sudo apt-get install -y openscap-scanner

# Download upstream SSG content
SSG_VERSION="0.1.79"
curl -LO "https://github.com/ComplianceAsCode/content/releases/download/v${SSG_VERSION}/scap-security-guide-${SSG_VERSION}.zip"
unzip -j "scap-security-guide-${SSG_VERSION}.zip" "*/ssg-ubuntu*.xml" \
  -d /usr/share/xml/scap/ssg/content/
This deposits ssg-ubuntu2404-ds.xml (or the equivalent for your version) into the same content directory used on RHEL-family systems, keeping subsequent scan commands consistent across distributions.
🔧 Running a Compliance Scan
Profile Auto-Discovery
SSG datastream files contain multiple profiles — sets of rules targeted at specific regulatory frameworks or use cases. Profile availability varies by distribution and version.
Before running a scan, you can inspect which profiles are available:
1
oscap info --profiles /usr/share/xml/scap/ssg/content/ssg-rl9-ds.xml
This outputs a list of profile IDs and their display names. On Rocky Linux 9, you’ll find CIS profiles; on Oracle Linux 9, the available profile IDs differ from Rocky’s — so rather than hardcoding a profile name, auto-discovery ensures the right profile is selected regardless of distribution. If no CIS profile is found at all, fall back to the standard profile.
To automate profile selection — useful when running the same Ansible role across multiple distributions — you can parse the output and select the first CIS-labeled profile, falling back to standard if none is found:
1
2
3
4
oscap info --profiles /usr/share/xml/scap/ssg/content/ssg-rl9-ds.xml \
  | grep -i cis \
  | head -1 \
  | awk '{print $1}'
Executing the Scan
Once you have the datastream file and profile, the scan command is straightforward:
1
2
3
4
5
6
sudo oscap xccdf eval \
  --profile xccdf_org.ssgproject.content_profile_cis \
  --results /var/log/openscap/oscap-results.xml \
  --report /var/log/openscap/oscap-report.html \
  --fetch-remote-resources \
  /usr/share/xml/scap/ssg/content/ssg-rl9-ds.xml
A few things worth noting:
- The scan returns exit code
0if all rules pass, and exit code2if any rules fail. Both codes indicate the scan completed — only exit code1signals a scan error. Treat0and2as success when integrating into automated workflows. --fetch-remote-resourcesallows the scanner to retrieve any externally referenced content. In air-gapped environments, omit this flag.- The
--resultsXML file is the machine-readable ARF report. The--reportHTML file is the human-readable output suitable for audit documentation.
🖥️ Kinoite: Baking OpenSCAP into the Image
Fedora Kinoite uses an immutable OSTree filesystem. You cannot install packages interactively with dnf on a running Kinoite system — packages must be included in the OSTree image at build time.
For this environment, OpenSCAP is added to the Kinoite treefile alongside scap-security-guide:
1
2
3
4
5
"packages": [
  "openscap-scanner",
  "scap-security-guide",
  "scapinoculars"
]
The Ansible playbook that builds the Kinoite image handles the OSTree compose and includes the local RPM repository where custom packages like scapinoculars live:
1
"repos": ["fedora-43", "fedora-43-updates", "localrepo"]
Once a new image is built and deployed, rebooting into it gives every Kinoite desktop a fully functional OpenSCAP installation — no post-boot configuration required.
On Kinoite, ssg-fedora-ds.xml is the correct datastream, and the standard profile is the practical choice. The Fedora CIS profile exists but is more conservative than what most corporate environments need from a baseline. Scans run identically to the server workflow once the packages are present.
SELinux note (Kinoite): OpenSCAP and SSG installed from Fedora repositories carry correct SELinux contexts. Custom binaries added via local RPM (like
scapinoculars) should have contexts set explicitly in the RPM spec using%postandrestorecon, and verified after deployment withausearch -m avc -ts recent.
📊 Feeding Results into Prometheus with SCAPinoculars
Running scans generates reports, but reports sitting in /var/log/openscap/ don’t integrate with the monitoring stack. The goal is to surface compliance status alongside CPU, memory, and log data in Grafana — making OpenSCAP results visible in the same operational dashboard used for everything else.
SCAPinoculars bridges that gap. It reads OpenSCAP ARF XML reports and exposes compliance pass/fail counts as Prometheus metrics on port 2112.
Deploying SCAPinoculars on Rocky Linux is straightforward. The binary is downloaded from the GitHub release page and installed as a systemd service:
1
2
3
curl -LO https://github.com/jritter/SCAPinoculars/releases/download/v0.0.3/SCAPinoculars_0.0.3_linux_amd64.tar.gz
tar -xzf SCAPinoculars_0.0.3_linux_amd64.tar.gz
sudo install -m 755 SCAPinoculars /opt/scapinoculars/scapinoculars
One behavior to be aware of: SCAPinoculars ignores --report-dir and --port command-line flags in version 0.0.3. It hardcodes port 2112 and looks for reports at the path resources/reports relative to its working directory. The systemd service must account for this:
1
2
3
4
5
6
7
8
9
10
11
12
13
14
15
[Unit]
Description=SCAPinoculars - OpenSCAP Prometheus Exporter
After=network.target

[Service]
User=scapinoculars
Group=scapinoculars
WorkingDirectory=/opt/scapinoculars
ExecStartPre=/usr/bin/mkdir -p /var/log/openscap
ExecStartPre=/bin/bash -c 'if [ ! -L /opt/scapinoculars/resources/reports ]; then ln -sf /var/log/openscap /opt/scapinoculars/resources/reports; fi'
ExecStart=/opt/scapinoculars/scapinoculars
Restart=on-failure

[Install]
WantedBy=multi-user.target
The ExecStartPre steps create the report directory if it doesn’t exist, then create a symlink from resources/reports to /var/log/openscap — where oscap writes its ARF output. Once both services are running, Prometheus can scrape compliance metrics at http://<host>:2112/metrics.
RPM packaging note: For this environment, both OpenSCAP and SCAPinoculars were packaged as custom RPMs using an Ansible-driven RPM build workflow. This allowed the binaries, systemd service files, and directory structure to be installed consistently and tracked as proper packages — the same pattern used for other custom tooling in this series.
For Kinoite, SCAPinoculars is packaged as a custom RPM and baked into the OSTree image alongside OpenSCAP. The RPM spec handles user creation, systemd service installation, and the resources/reports symlink setup in %post. After rebooting into the new image, the service starts automatically and begins serving metrics.
Add the host to Prometheus scrape targets:
1
2
3
4
5
6
7
- job_name: openscap
  static_configs:
    - targets:
        - rocky-02:2112
        - kinoite-01:2112
      labels:
        job: openscap
🔒 Addressing the Security Reality
OpenSCAP is a security tool, and like any security tool it needs to be used with intention.
A few considerations:
Scan results contain sensitive system intelligence. ARF XML reports include package versions, configuration details, and rule failures — information that would help an attacker understand exactly what’s not locked down. Treat report files like credentials: restrict read access, don’t store them in publicly accessible locations, and control who can retrieve them remotely.
SCAPinoculars port
2112is unauthenticated. Like Prometheus and node_exporter, the metrics endpoint has no built-in authentication. Restrict access via firewall rules so only the Prometheus server can reach it:
1
2
sudo firewall-cmd --permanent --add-rich-rule='rule family="ipv4" source address="<prometheus-server-ip>/32" port port="2112" protocol="tcp" accept'
sudo firewall-cmd --reload
Run scans with a dedicated service account. The
oscapbinary requires read access to system configuration files — but it doesn’t need root for read-only scans. Create a dedicated scanning user and grant only the permissions required. Reservesudofor remediation runs.Remediation changes the system. OpenSCAP can apply automatic fixes via
--remediate. In production, this should be treated as carefully as any Ansible playbook that modifies live systems — test in development first, understand what each rule change does, and document what was changed and why.
Compliance scanning improves your security posture. It shouldn’t become a new attack surface.
🎯 Why Do This?
Running OpenSCAP scans produces evidence. That evidence answers the question that compliance frameworks and security teams both ask: can you demonstrate that your systems are configured securely?
But beyond compliance documentation, regular scanning surfaces configuration drift. In any environment where systems are added, updated, or modified over time, the gap between intended policy and actual configuration tends to grow. OpenSCAP closes the feedback loop — each scan shows you exactly where systems have drifted from baseline.
Integrating scan results into Prometheus changes how that information gets used. Instead of compliance results living in a report folder that someone checks quarterly, they become part of the continuous monitoring picture alongside CPU usage, memory, and log activity. A compliance failure becomes an alert, not a surprise discovery during an audit.
The combination of Prometheus (metrics), Loki (logs), and OpenSCAP (compliance) feeding into a single Grafana instance removes the segmentation that typically keeps operational monitoring and security monitoring separate. In most organizations, those are two different teams looking at two different dashboards. Making them the same dashboard changes the conversation.
Part of a Larger Journey
Over the next 3-6 months, I plan to build out this environment and document the process through a series of articles covering:
- Article 1: Introduction - Why this project matters and what Linux can offer businesses
- Article 2: Proxmox Virtualization Best Practices - Setting up a robust virtualization foundation
- Article 3: Making Linux Work as a Corporate Desktop
- Article 4: OS Updates on the Corporate Linux Desktop
- Article 5: Enterprise Desktop Update Lifecycle with Kinoite
- Article 6: Bringing Prometheus Monitoring to the Linux Corporate Desktop
- Article 7: Loki: From Naming Servers After Gods to Monitoring Them
- Article 8: OpenSCAP: Compliance Scanning for the Linux Corporate Desktop (this article)
- Articles 9-12: SMB Infrastructure Planning, Ansible Automation, Core Services (AD/File/Print), Desktop Environment, and Security Hardening
My goals are to:
- Help business owners understand that there are viable alternatives for securing their systems
- Highlight what Linux-based systems are capable of in real-world business environments
- Provide practical tools, configurations, and guidance for users who are new to Linux as well as experienced IT professionals
- Continue developing my own skills in Linux-based security and infrastructure design
Call to Action
Whether you’re evaluating alternatives to expensive licensing, building your first Linux infrastructure, or simply curious about enterprise security on open-source platforms — I’d love to hear from you.
If you are a business owner, system administrator, or IT professional interested in improving security without relying solely on expensive licensing and third-party tools, I invite you to follow along. Experiment with these ideas, ask questions, challenge assumptions, and share your experiences. Together, we can explore what a secure, Linux-based business environment can look like in practice.
Need Linux expertise? I help businesses streamline servers, secure infrastructure, and automate workflows. Whether you’re troubleshooting, optimizing, or building from scratch — I’ve got you covered. 📬 Drop a comment or email me to collaborate. For more tutorials, tools, and insights, visit sebostechnology.com.
☕ Did you find this article helpful? Consider supporting more content like this by buying me a coffee: Your support helps me write more Linux tips, tutorials, and deep dives.